
Lifecycle Stages in HubSpot: Setup & Best Practices
If you're using HubSpot but not fully utilizing lifecycle stages, you could be missing out on potential revenue. These stages are more than just labels; they serve as a roadmap for understanding where each contact is in your B2B sales funnel and how to progress them toward closing a deal.
In this post, we’ll break down how to set up lifecycle stages in HubSpot the right way, and share practical tips we use at Moplsy.
What Are Lifecycle Stages in HubSpot?
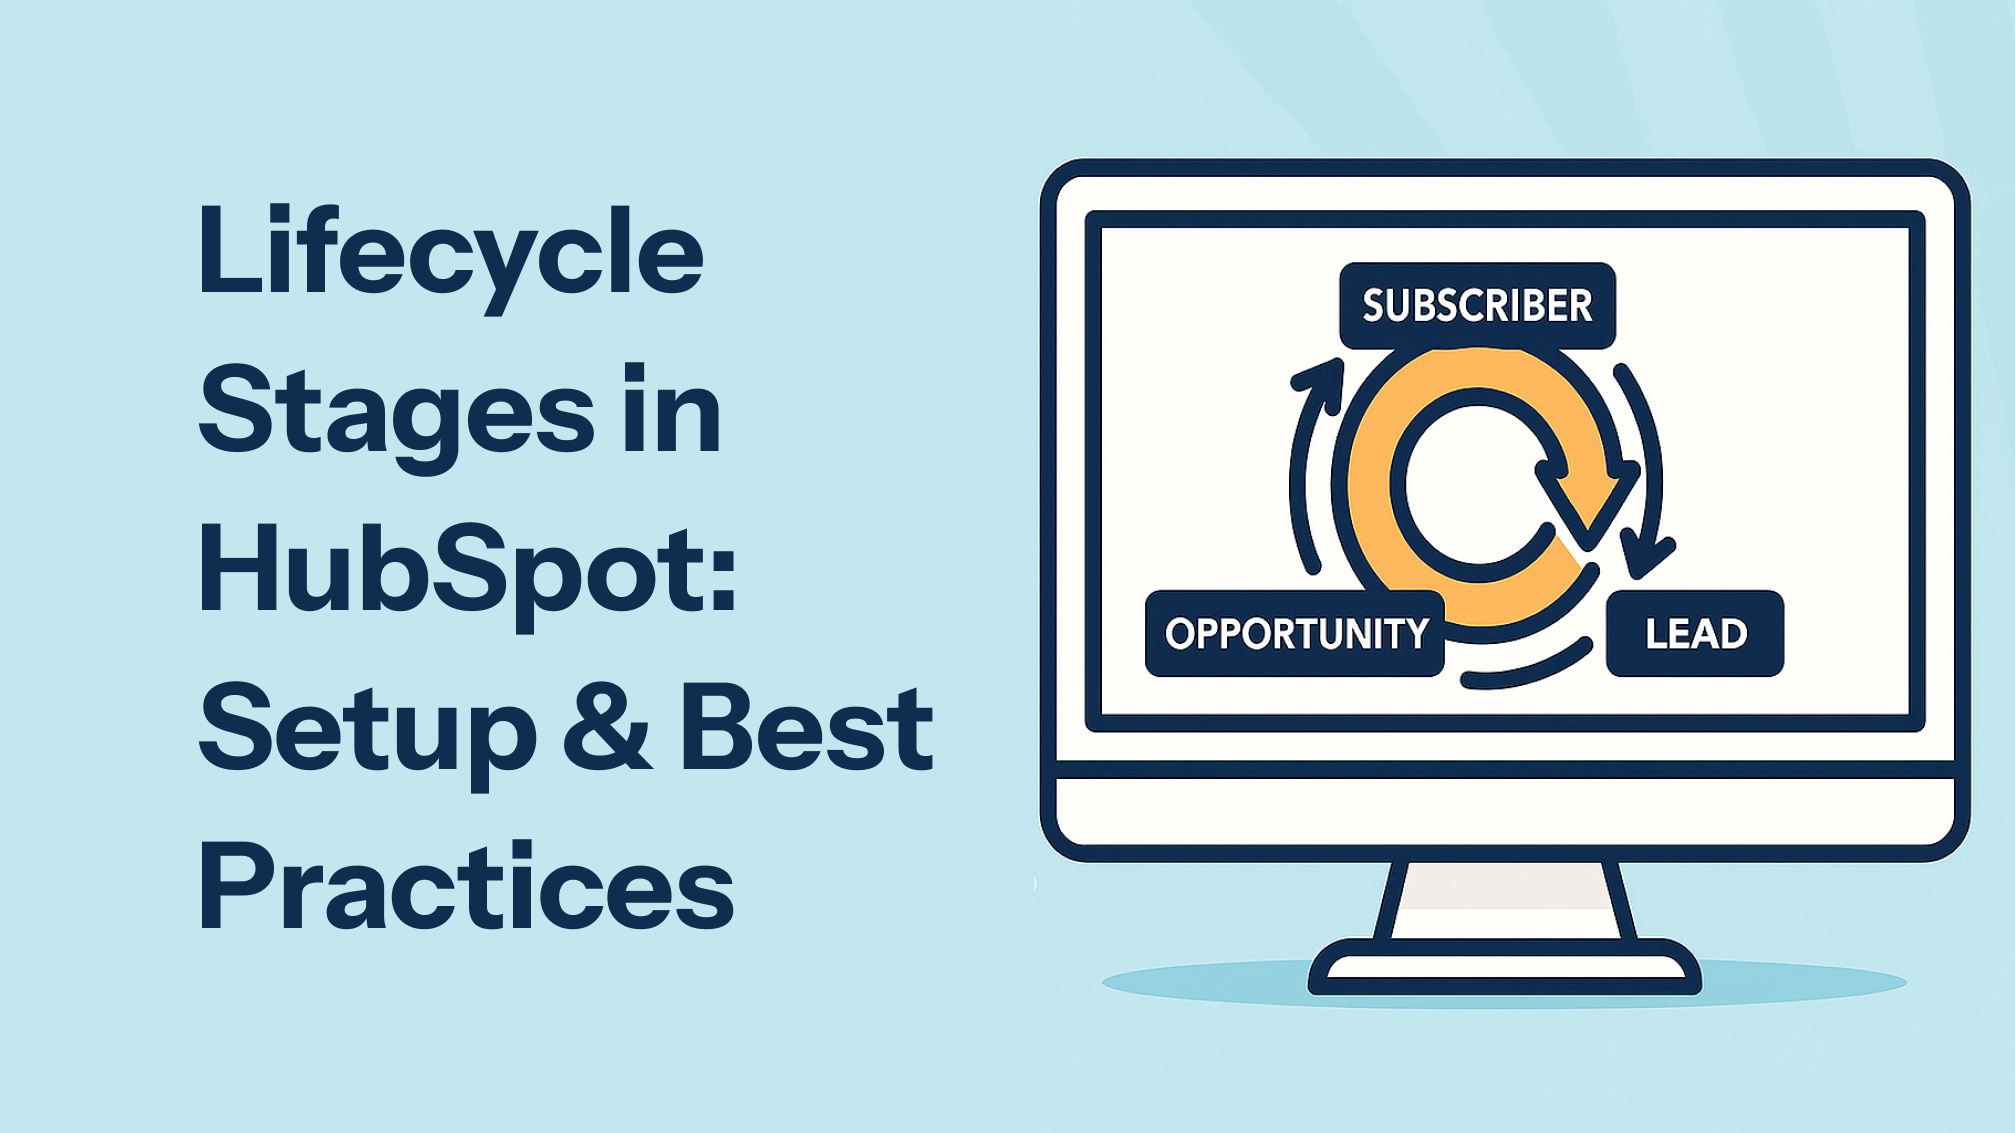
Lifecycle stages are built-in contact properties in HubSpot that help you track where leads are in their buyer’s journey. Common stages include:
- Subscriber
- Lead
- Marketing Qualified Lead (MQL)
- Sales Qualified Lead (SQL)
- Opportunity
- Customer
- Evangelist
- Other
Lifecycle stages inform automation rules, marketing campaigns, and sales prioritization. If you're with a marketing operations agency, they’ll likely be building your lead lifecycle around these stages. Your business model may require a custom lifecycle if these stages do not fit.
Why Lifecycle Stages Matter
Think of lifecycle stages as the fuel behind your revenue engine. They power your:
- Lead funnel
- Sales outbound strategy
- Pipeline creation
- Reporting and forecasting
They also make collaboration smoother between teams, whether you’re a marketing ops specialist or a marketing operations director.
Best Practices for Setting Up Lifecycle Stages
1. Define Each Stage Clearly
Don’t leave interpretation up to individual reps. Work with your team to define entry and exit criteria for each stage.
Example:
- Lead: A contact has submitted a form. A contact was created via an integration. A contact was created from an offline list import.
- MQL: If the lead score is 100 or higher, or if a demo request has been submitted, the lead will be fast-tracked to sales.
- SQL: The lead was accepted and qualified by your sales team.
2. Use Automation (But Don’t Overcomplicate It)
Automate lifecycle stage changes based on actions like form fills, email opens, or deal creation, but keep it simple. For example, set new contacts as Leads. They may not be qualified yet, but with nurturing, they can move to MQL, then SQL once sales confirm they’re a good lead.
3. Sync with Your CRM and Sales Process
Lifecycle stages should closely align with your lead funnel and sales process. This ensures you can accurately track lead progression and connect marketing efforts to pipeline.
4. Keep Your Stages Clean
If you're managing a high volume of inbound leads, your marketing automation workflows should update lifecycle stages as leads move through the funnel. If not, you risk inflated lead counts and inaccurate data that misrepresents your pipeline.
- If you’re a marketing operations director or a HubSpot consultant, lifecycle stages should be agreed upon across sales and marketing.
- Use lifecycle data in reporting. Show how many leads are moving from Lead to MQL to SQL each month. This is important for growth hacking for B2B business and long-term planning.
Final Thought
Lifecycle stages in HubSpot aren’t just a “nice-to-have.” When set up correctly, they become the backbone of your marketing strategy, fueling campaigns, better sales handoffs, and data-driven decisions.
Whether you’re a B2B consultant, a lead generation consulting firm, or managing operations for a fast-scaling team, don’t skip this step. And if you need a hand setting it up right the first time, Moplsy’s here with tailored HubSpot services and marketing operations as a service to help you build the foundation for scale.
Want help defining your lifecycle stages or integrating them with your existing campaigns? Let’s talk.
Stay updated with our latest blogs
The Mopsly Brief
Practical ops thinking for CMOs, RevOps leaders, and founders. What's working, what's breaking, and what to do about it.
Thank you! Your submission has been received!
Oops! Something went wrong while submitting the form.